How Plastigauge® works with engine bearings and other surfaces:
PLASTIGAUGE® is comprised of a rod or thread of a compliant plastic material of accurately determined cross-section - either circular or square.
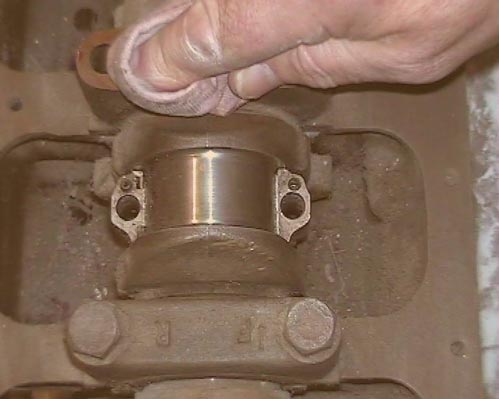
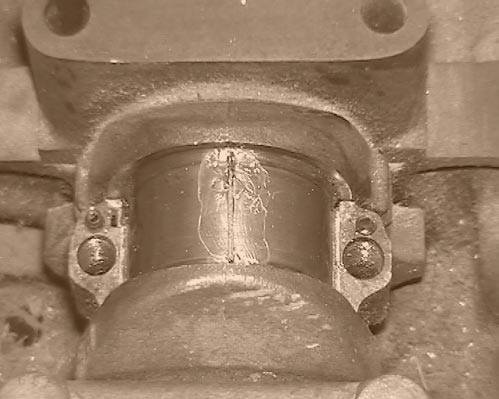
The surfaces between which measurement is to be made are first separated, PLASTIGAUGE is inserted (see fig. 2) and the surfaces are returned to their standard position. Fig.1 . It is recommended that surfaces be clean prior to use of PLASTIGAUGE

Fig.2 . PLASTIGAUGE placed across the bearing surface

The once circular (or square) section will have been flattened but the area of the cross-section will remain unchanged. We can, therefore, state that:

or in the case of a square section of side 'a' :-

Here T, the clearance to be measured is equal to a constant divided by the width of the strip after deformation. By opening the surfaces to reveal the deformed gauge, W can be measured directly and from this the clearance, T, can be determined.
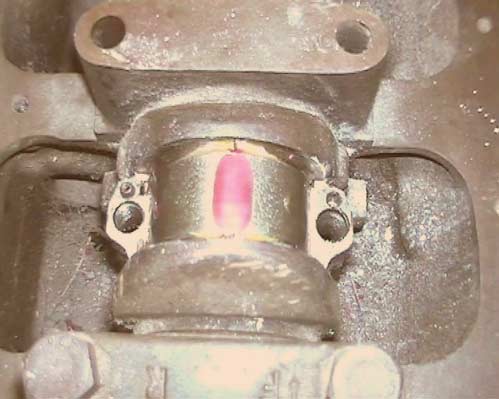
Fig. 3 Compressed Plastigauge ready for measurement

In practice the need for this calculation is obviated by the use of a calibrated scale on which an array of marks has been printed (see fig. 4).
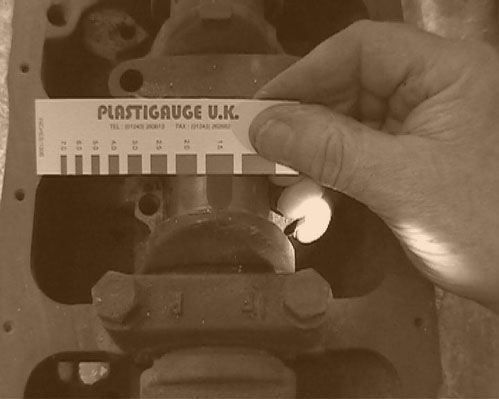
Fig 4. De-formed Plastigauge compared with calibrated scale.
The width of the strip can be compared with the scale (see fig.4). The actual clearance is shown alongside the mark which most nearly corresponds to the width. For greater accuracy the clearance may be interpolated between the two most nearly comparable scale marks.

APPLICATIONS
PLASTIGAUGE is highly effective for measuring the clearance in large bearings which include Marine Drive Shaft bearings, Turbine housing bearings, Pump and Pressure System bearings.
Shaft end-float lends itself to direct measurement by PLASTIGAUGE.
Flatness and clearance in pipe-flanges and cylinder heads are readily checked and measured with standard PLASTIGAUGE.
It is recommended that the surfaces be separated by a ground spacing washer or shim of (typically) 0.002". PLASTIGAUGE is positioned in those regions where distortion is suspected and any variations of flatness will be shown, after the assembly is dismantled, by variations in the width of the compressed PLASTIGAUGE strip.
For large bearings, multiple measurements are recommended by inserting two or more gauges around the bearing.
PLASTIGAUGE is particularly effective for the measurement of separation in moulding tools, and wherever it is required to determine the separation between hidden surfaces.
A widely used application
Perhaps the most widely used application of PLASTIGAUGE is in the measurement of clearance in plain automotive bearings. This application is described in detail:
Remove the engine sump cover to reveal the big-end and its retaining set-screws. Remove surplus oil and release the big-end shells by unscrewing the set-screws. Apply a smear of grease to the journal and small quantity of silicone release agent to the shell.
Trim a length of PLASTIGAUGE to fit across the journal using the grease to hold it in place. Replace the shell and tighten the set-screws to the recommended torque setting - without rotating the journal.
Now remove the shell to reveal the PLASTIGAUGE which will have been spread across the bearing surface as a stripe or band. Match the width of the stripe against the calibrated gauge card supplied and read off the clearance.
Ideally you should remove the PLASTIGAUGE stripe with a clean oily cloth or industrial de-greasing solvent, but users may be assured that any PLASTIGAUGE left behind is oil soluble and cannot harm the engine in any way.
|

